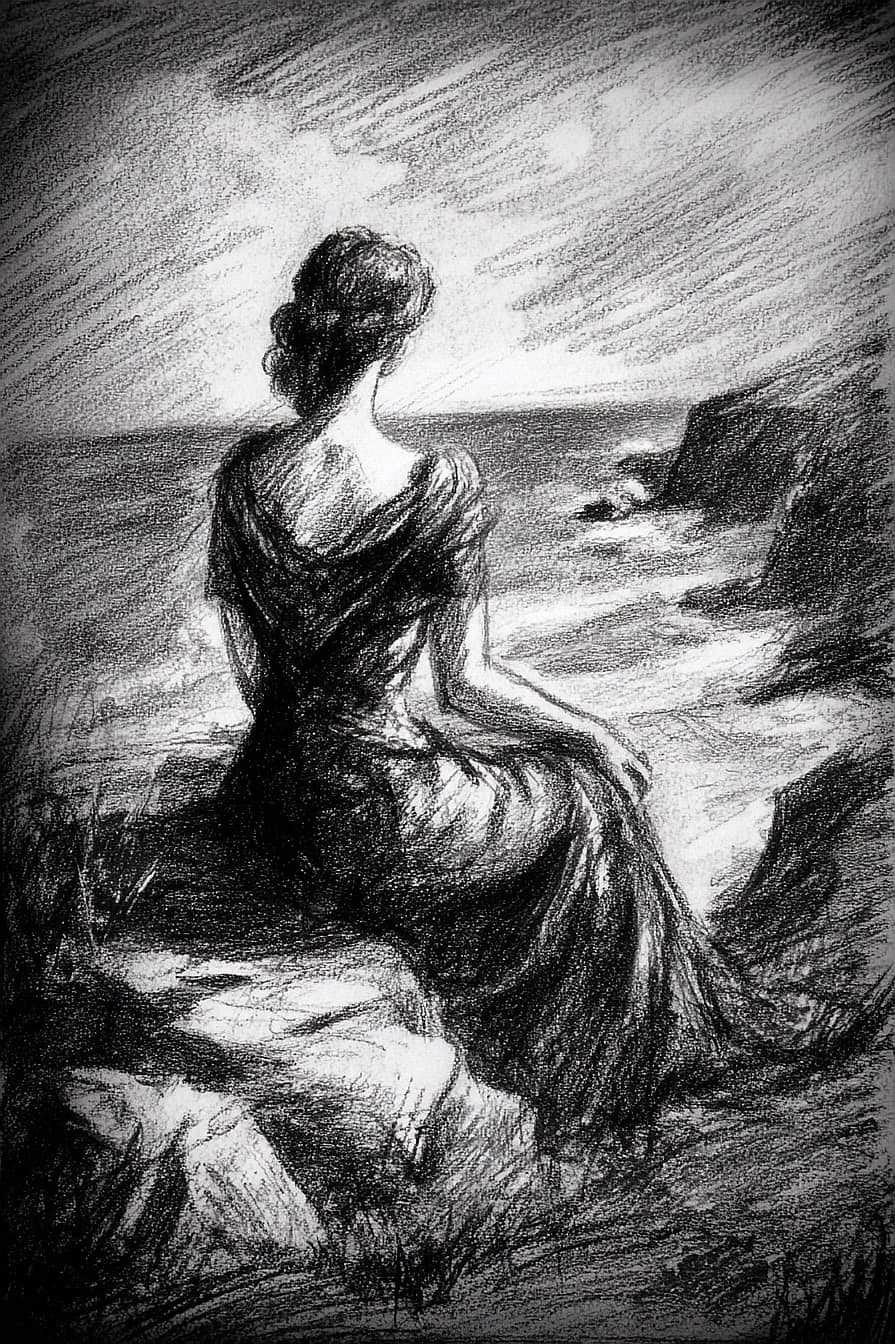
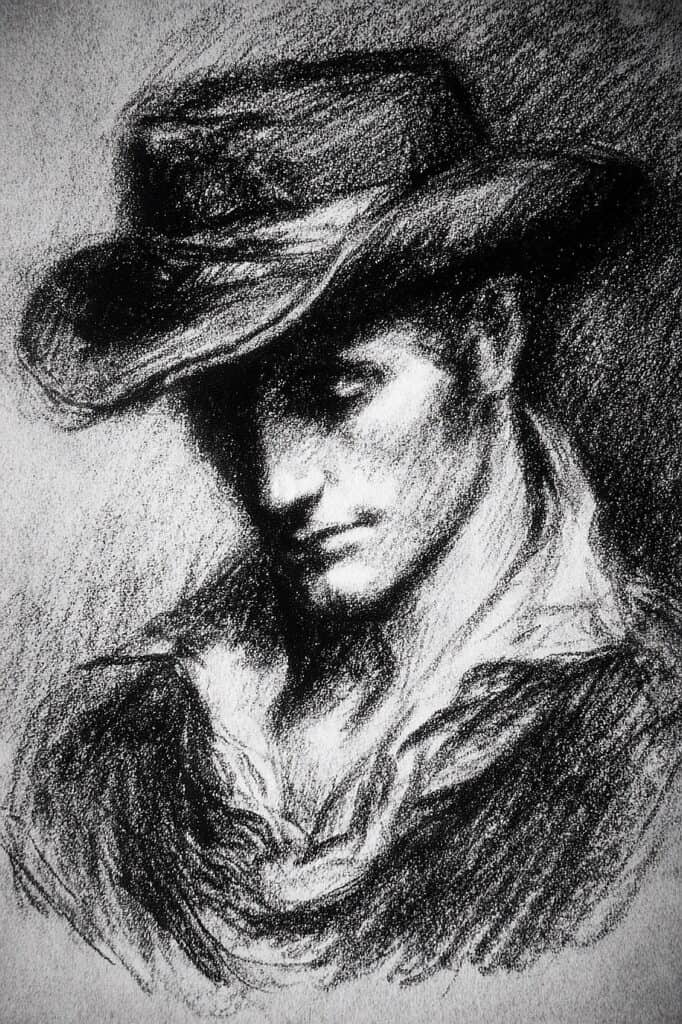
Master the Art of Charcoal Drawing: Fun and Easy Tips
I’ll never forget the first time I really tried drawing with charcoal. My hands were covered in black dust within minutes, there were smudges on my face, and the paper looked more like a blurry mess than the still life I was attempting.
It felt chaotic, but also incredibly liberating. There’s something raw and immediate about charcoal that I think every artist, new or experienced, should get to know. It’s a medium that’s both ancient and modern, capable of creating soft, moody atmospheres or sharp, dramatic lines.
If you’ve been curious about it but felt a little intimidated, I get it. Let’s walk through it together. We’ll cover the basics, a few simple techniques, and how to embrace the beautiful mess that is charcoal drawing.
Getting to Know Your Tools
Before you start, it helps to understand what you’re working with. Unlike a simple graphite pencil, charcoal comes in a few different forms, each with its own personality.
- Vine Charcoal: This is the lightweight of the charcoal world. It’s made from burning sticks of wood (usually willow) and is very soft, powdery, and easy to erase. I think of vine charcoal as my sketching tool. It’s perfect for laying down initial compositions and broad areas of value because it doesn’t commit too strongly. You can move it around, lift it off, and change your mind.
- Compressed Charcoal: Now we’re getting into the darks. Compressed charcoal is made from charcoal powder mixed with a binder, creating a much harder stick. It produces rich, deep blacks that vine charcoal just can’t match. It’s a bit harder to erase, so I use it when I’m ready to commit to my dark values. It comes in different hardness grades, just like pencils.
- Charcoal Pencils: These are my go-to for details. They are essentially compressed charcoal encased in wood, giving you the control of a pencil with the expressive quality of charcoal. They are perfect for fine lines, sharp edges, and adding those final, crisp details to a drawing.
You’ll also want a couple of other essential tools on hand:
- Kneaded Eraser: This isn’t your standard pink eraser. A kneaded eraser is like a little gray putty. You can mold it into any shape, making it perfect for lifting out highlights or dabbing away small areas. Instead of rubbing, you press it onto the charcoal.
- Blending Stumps & Tortillons: These are tightly rolled paper tools that look like pencils. They are fantastic for blending and smoothing charcoal. You can create soft, gradual transitions between light and dark without getting your fingers completely black (though using your fingers is a valid technique, too!).
Fun Techniques to Get You Started
Ready to make some marks? Grab a piece of paper (a textured paper works beautifully with charcoal) and let’s try a few things.
1. The Art of Shading
This is where charcoal truly shines. Start by using the side of a piece of vine charcoal. Gently drag it across the paper to create a light, even tone. Now, press a little harder. See how the value darkens?
Try creating a value scale. Draw a long rectangle and divide it into five sections. Leave the first one white. In the next, apply a very light layer of charcoal. Gradually make each section darker, with the last one being as black as you can get it using compressed charcoal. This simple exercise is a wonderful way to understand the pressure and control needed to create different shades.
2. Mastering the Blend
Once you have some charcoal on the paper, it’s time to blend. Take your blending stump and, using gentle circular motions, go over the boundary between two different values.
Watch how they soften and merge together. You can create incredibly smooth gradients this way, perfect for rendering curved surfaces or soft shadows.
Don’t have a stump? No problem. Use your finger! It works just as well, though it gives a slightly different texture and, of course, gets your hands dirty. That’s part of the fun, I think.
3. Creating Texture
Charcoal is not just for smooth shading. You can create a huge range of textures.
- Hatching & Cross-Hatching: Use a charcoal pencil to draw parallel lines (hatching) or intersecting lines (cross-hatching) to build up value and suggest form.
- Stippling: Tap the tip of your charcoal pencil onto the paper to create a field of dots. The closer the dots, the darker the area will appear.
- Subtractive Drawing: This one feels like magic. Cover a large area of your paper with a mid-tone of vine charcoal and blend it out. Now, take your kneaded eraser and “draw” by lifting the charcoal off the paper. You can create bright highlights and sharp lines, essentially pulling the light out of the darkness. It’s one of my favorite things to do.
A Few Tips for a Cleaner Process
Let’s be honest: charcoal is messy. Smudging is the eternal enemy.
- Work from Top to Bottom: If you’re right-handed, work from the top left corner down to the bottom right. If you’re a lefty, go from top right to bottom left. This helps prevent your hand from dragging across your finished work.
- Use a Bridge: Place a spare piece of paper or a mahl stick (a light stick to rest your hand on) over the areas you’ve already drawn. This keeps your hand elevated and off the charcoal.
- Preserve Your Masterpiece: When you’re done, you’ll want to protect your drawing. A final spray fixative is the best way to do this. It’s a clear spray that creates a protective layer over the charcoal, locking it in place. Be sure to use it in a well-ventilated area!
Just Have Fun With It
The most important advice I can give you is to let go and experiment. Charcoal is a very forgiving medium. You can erase it, smudge it, and build up layers. Don’t worry about creating a perfect drawing on your first try. Make a mess. See what happens when you combine vine and compressed charcoal. Try drawing with an eraser.
The beauty of charcoal lies in its expressive and emotional power. It’s a direct connection between your hand and the paper. So embrace the dust, enjoy the process, and see what stories you can tell with this incredible medium.